
When I was in college, I was friends with a group of guys (there were nine of them) who all lived in one house. We called them “House of Nine”. Clever, I know. Every Sunday night they would hold “waffle night” at their place. They would open it up to people they met here and there, and usually about 50 showed up to eat. Since waffle mix and syrup were cheap, these guys could feed a crowd and get to mingle with girls all evening. Genius right? They were on to something, and we always left with full bellies and a few more friends every time. It was a great tradition!
I have always wanted to recreate those “waffle nights” we used to have back then. In our last house, we barely had room to host one other family, however, recently moved to a new house, and I can host considerably more people. My husband and I decided to make use of our new space by doing an open house “waffle night” for the neighborhood. We threw it out to the masses, and I just told everyone to bring waffle toppings and I would cover the waffles. Since waffle trucks waffles are all the rage right now I thought I would try to do a copycat waffle truck recipe. Most of these trucks make Liege waffles, which cost about $10 a waffle! I never understood why until now. Labor. They are a yeast dough rather than a batter. These babies need to be made the day before, rise and get punched down, refrigerated, rise again, sugar pearled, rest, oh and then you can cook them. So the big question is, is it worth all the time? I didn’t have an answer throughout the whole process until I took my first bite. The answer was a resounding Y-E-S! You can taste the love! Make Sure you read the whole recipe before you start to so you’re sure you’ve got enough time to complete the process without skipping steps. It’s not going to be a weekly thing for me, but I’ll be fitting this into my schedule a few times a year for sure!
Waffle Truck Waffles
(Makes 20 waffles)
2/3 c. of water
1 c. whole milk (scalded)
2 tsp. sugar
6 tsp. active dry yeast
8 c. All Purpose Flour
4 large eggs room temperature, lightly beaten
6 Tbs. light brown sugar
3 tsp. salt
2 c. soft room temperature butter
4 Tbs. honey
2 1/2 Tbs. vanilla extract
Directions
1. Place water, sugar, and yeast into a large mixer bowl. My 6 Qt. KitchenAid Professional Mixer works great for this size batch. Allow yeast to activate for about 5-10 minutes while you scald the milk on the stove.
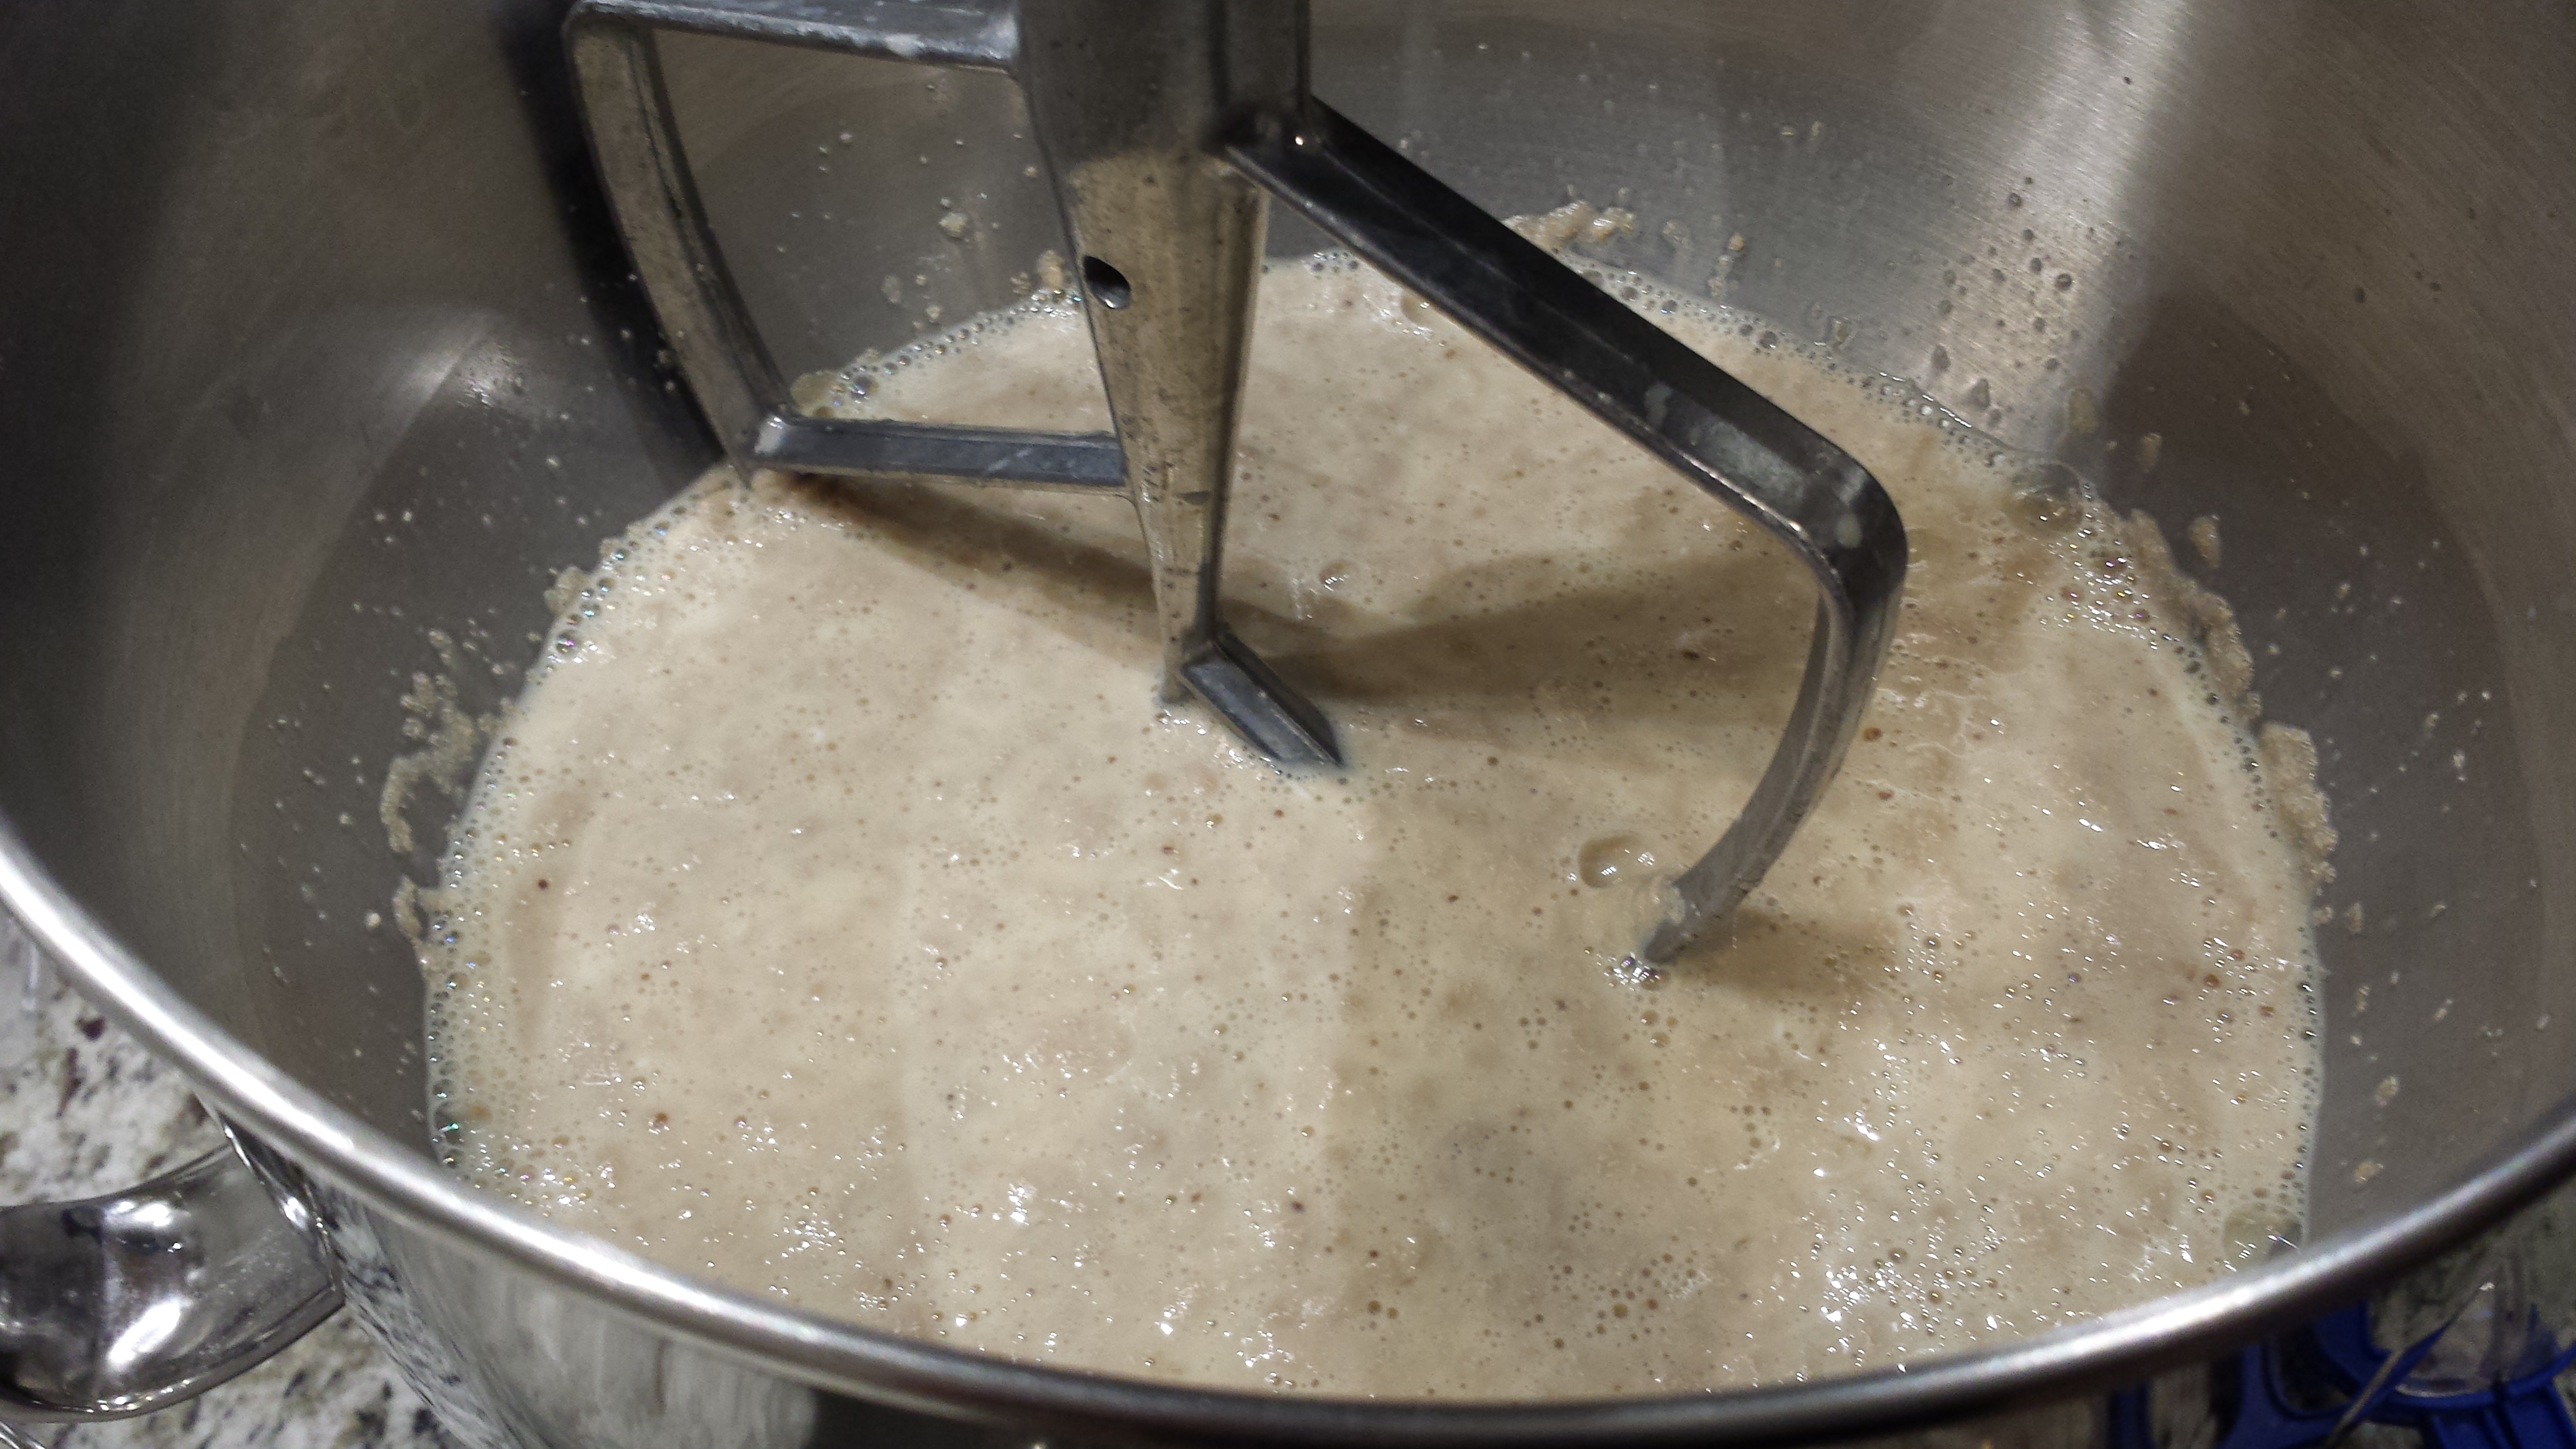
2. In a separate bowl whisk the egg and scalded milk together. Slowly add the mixture to the mixing bowl and start to mix on low.
3. Add half of the flour, and contiue mixing untill you have a soft smooth mixture. Stop the mixer, pull our the dough hook and add the remaining flour over the top of the mixture, but do not stir it in. Cover and let it rise for about 90 minutes.
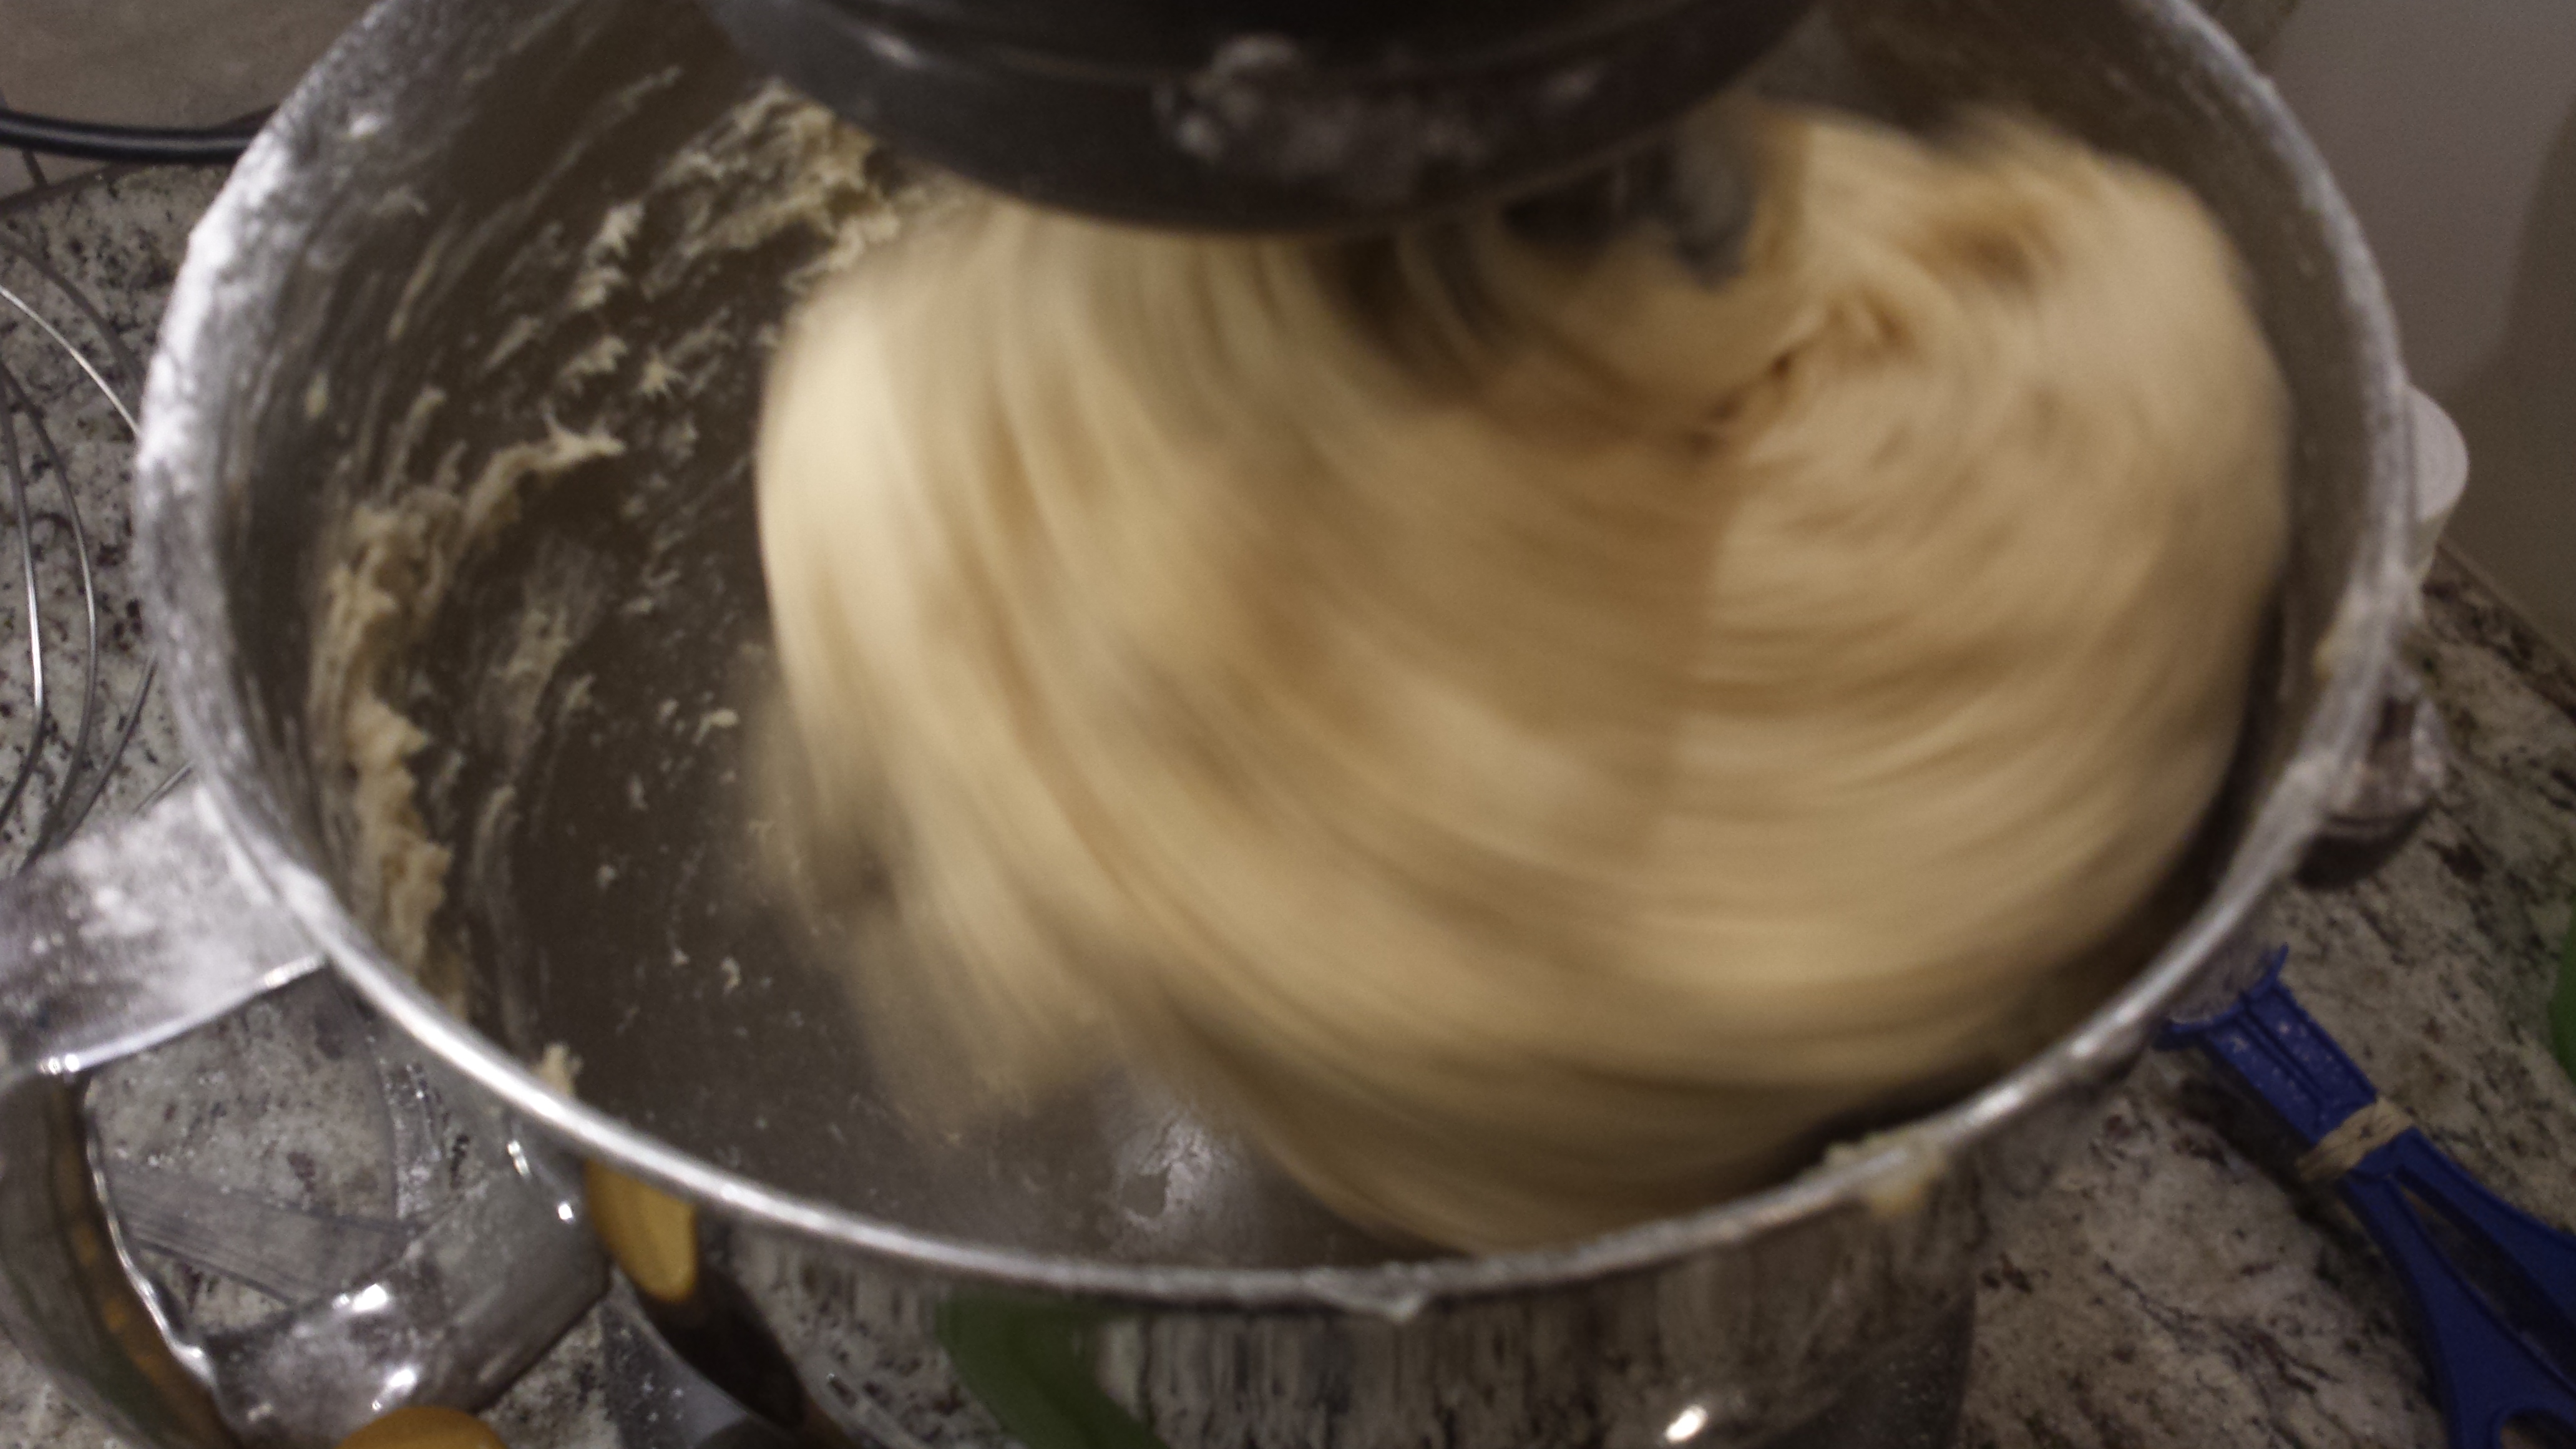
4. Add brown sugar and salt to dough and mix on low speed (#2 on my KitchenAid)
5. With machine still mixing, add honey and vanilla. Then add 2 Tbsp. of butter at a time. Up the speed to medium and continue to mix for 4 minutes. Scrape down the sides if you need to. Let the dough rest for 1 minute and then mix on medium for 2 minutes. If your measurements were correct, the dough will be sticking to the sides of the bowl in the last minute of mixing and then, in the last 30 seconds of so, will start to ball-up on the paddle. If this does not happen, let the dough rest for 1 more minute and mix for another 2 minutes.
6. Take the dough hook out, and take the mixing bowl off the stand. Sprinkle lightly with flour, cover tightly with plastic wrap. Let the dough rise for 4 hours at room temperature. DO NOT SKIP THIS STEP!
7. Once the dough has risen for 4 hours, you need to refrigerate the dough to slow the yeast process. Punch the dough down, wrap tightly in plastic wrap in plastic wrap and place on a tray. Place some a couple of heavy dishes over the top, and refrigerate overnight.
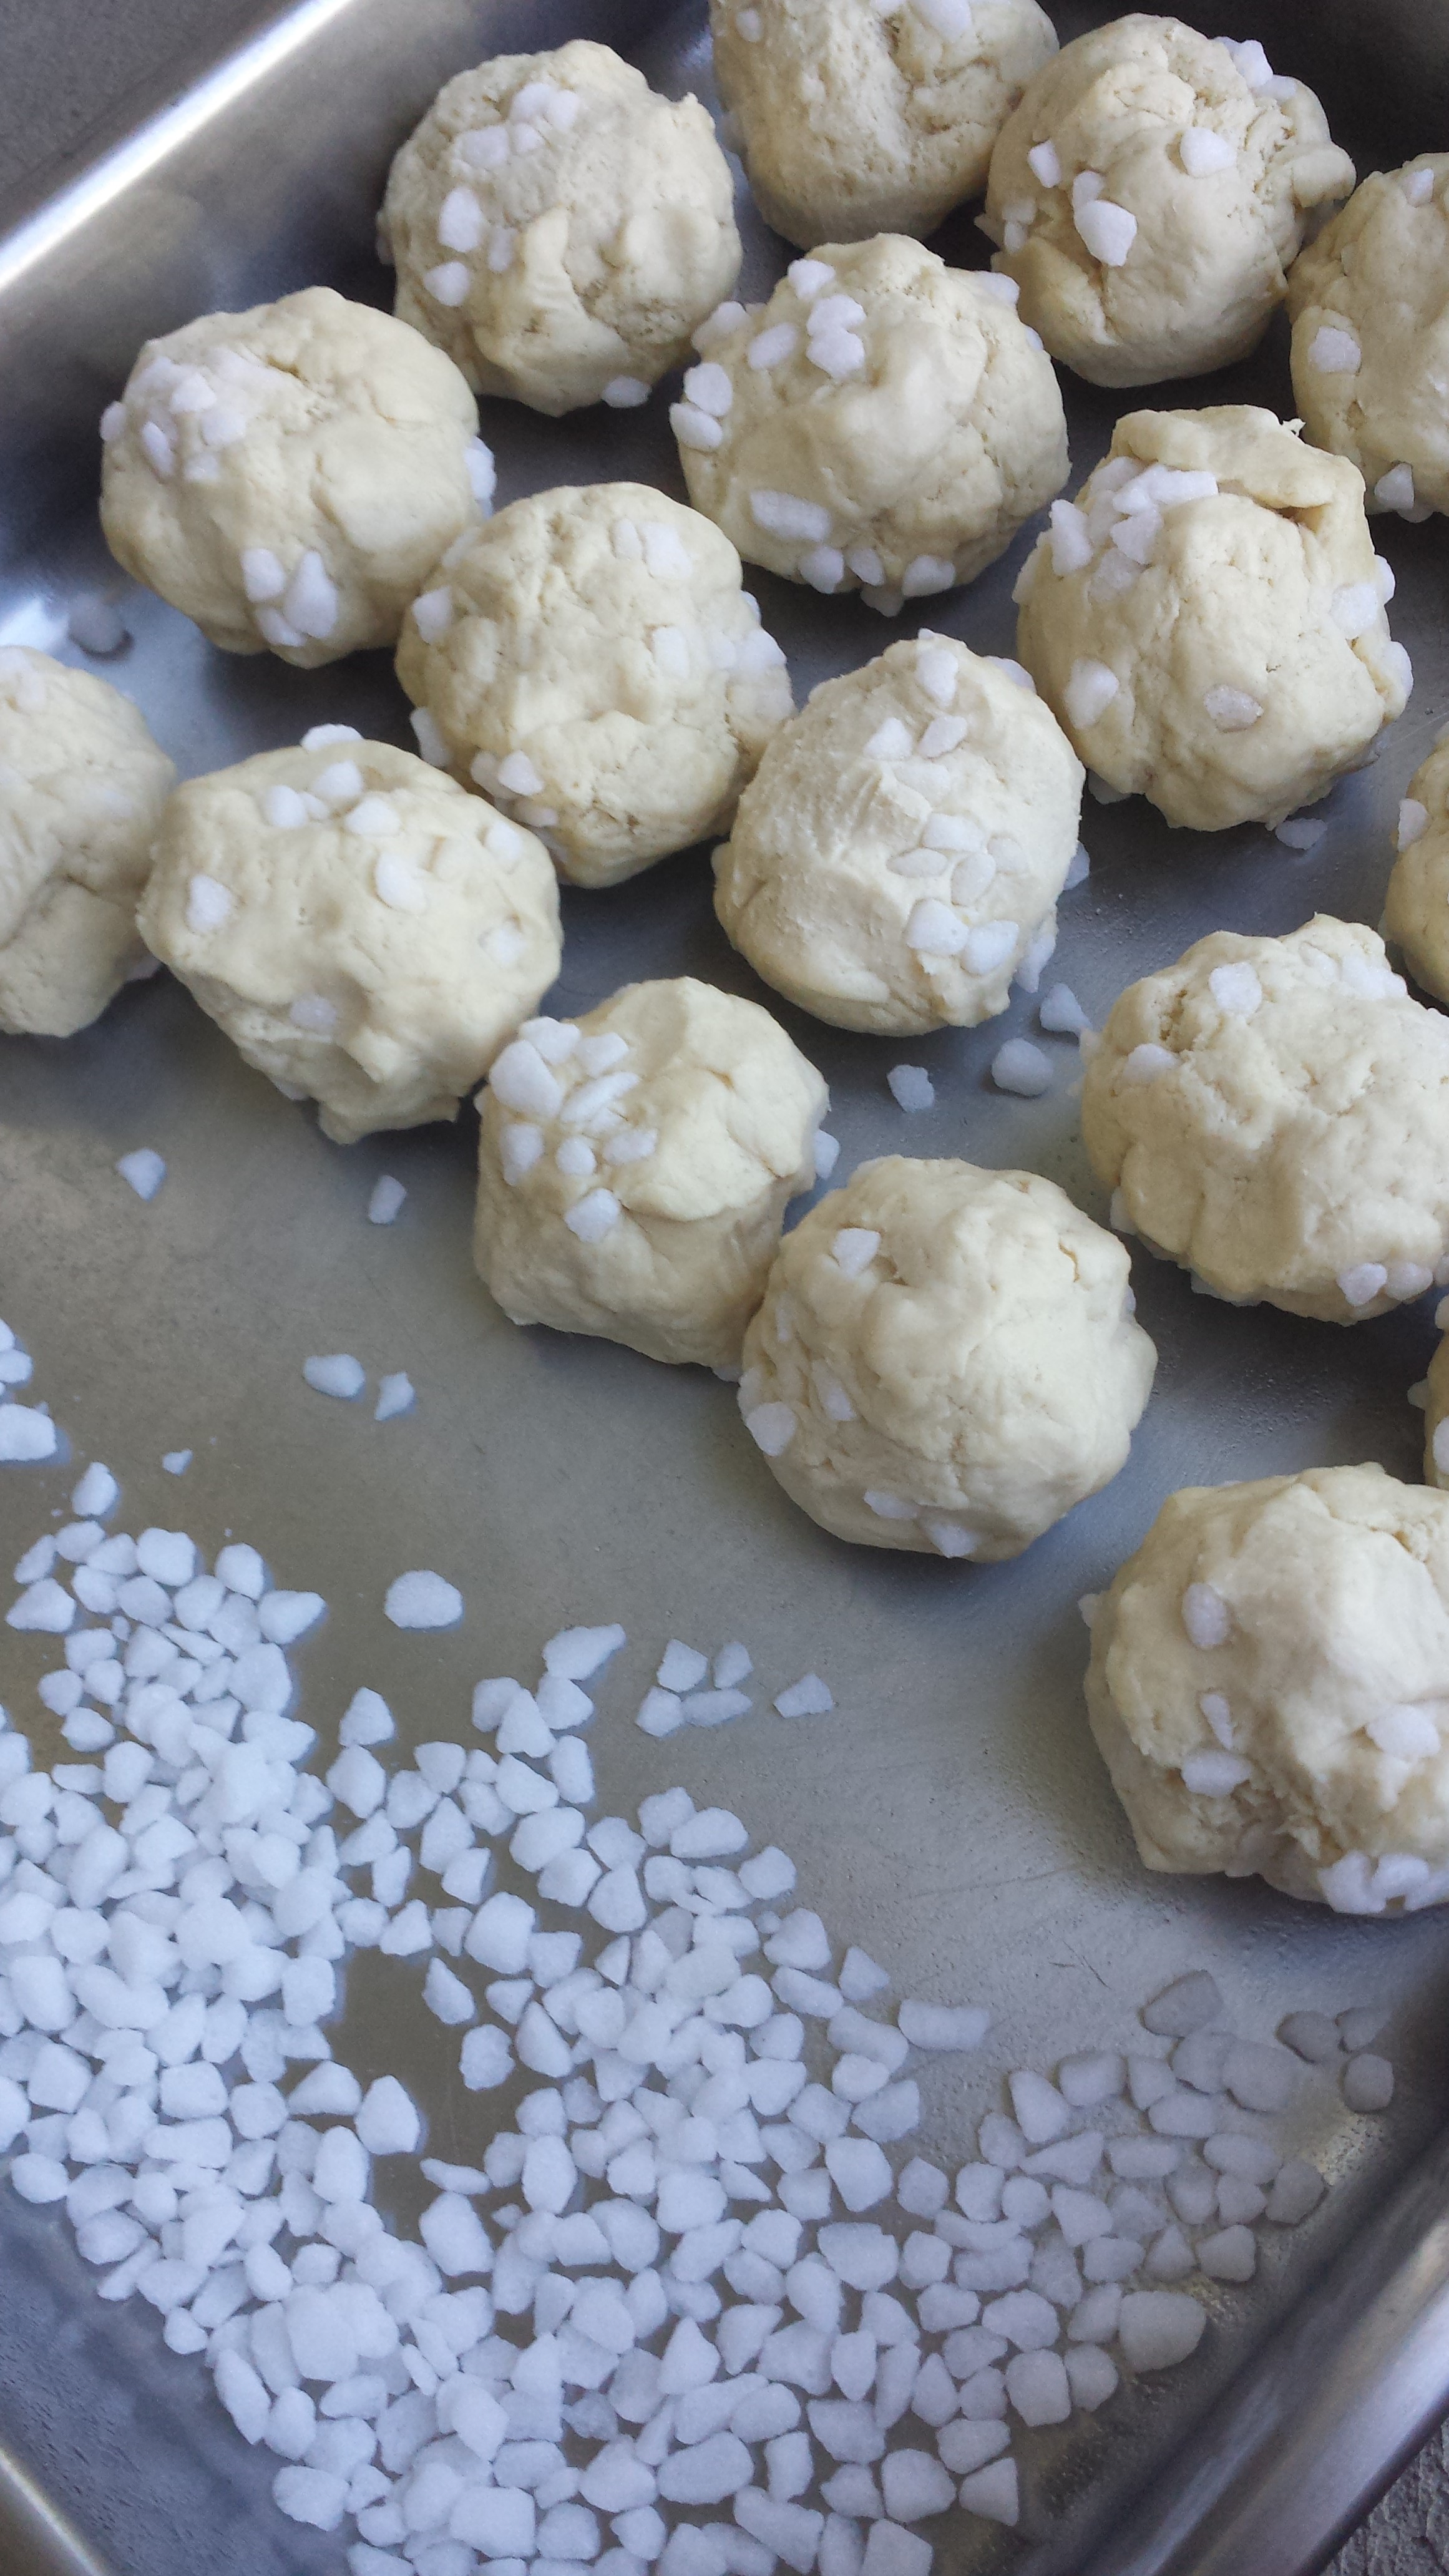
8. The next day, take out the dough and unwrap it. Place it on a tray and dump the sugar pearls next to the dough. Plop it down on the sugar on two sides and then mix it into the dough ball until the pearls are evenly distributed.
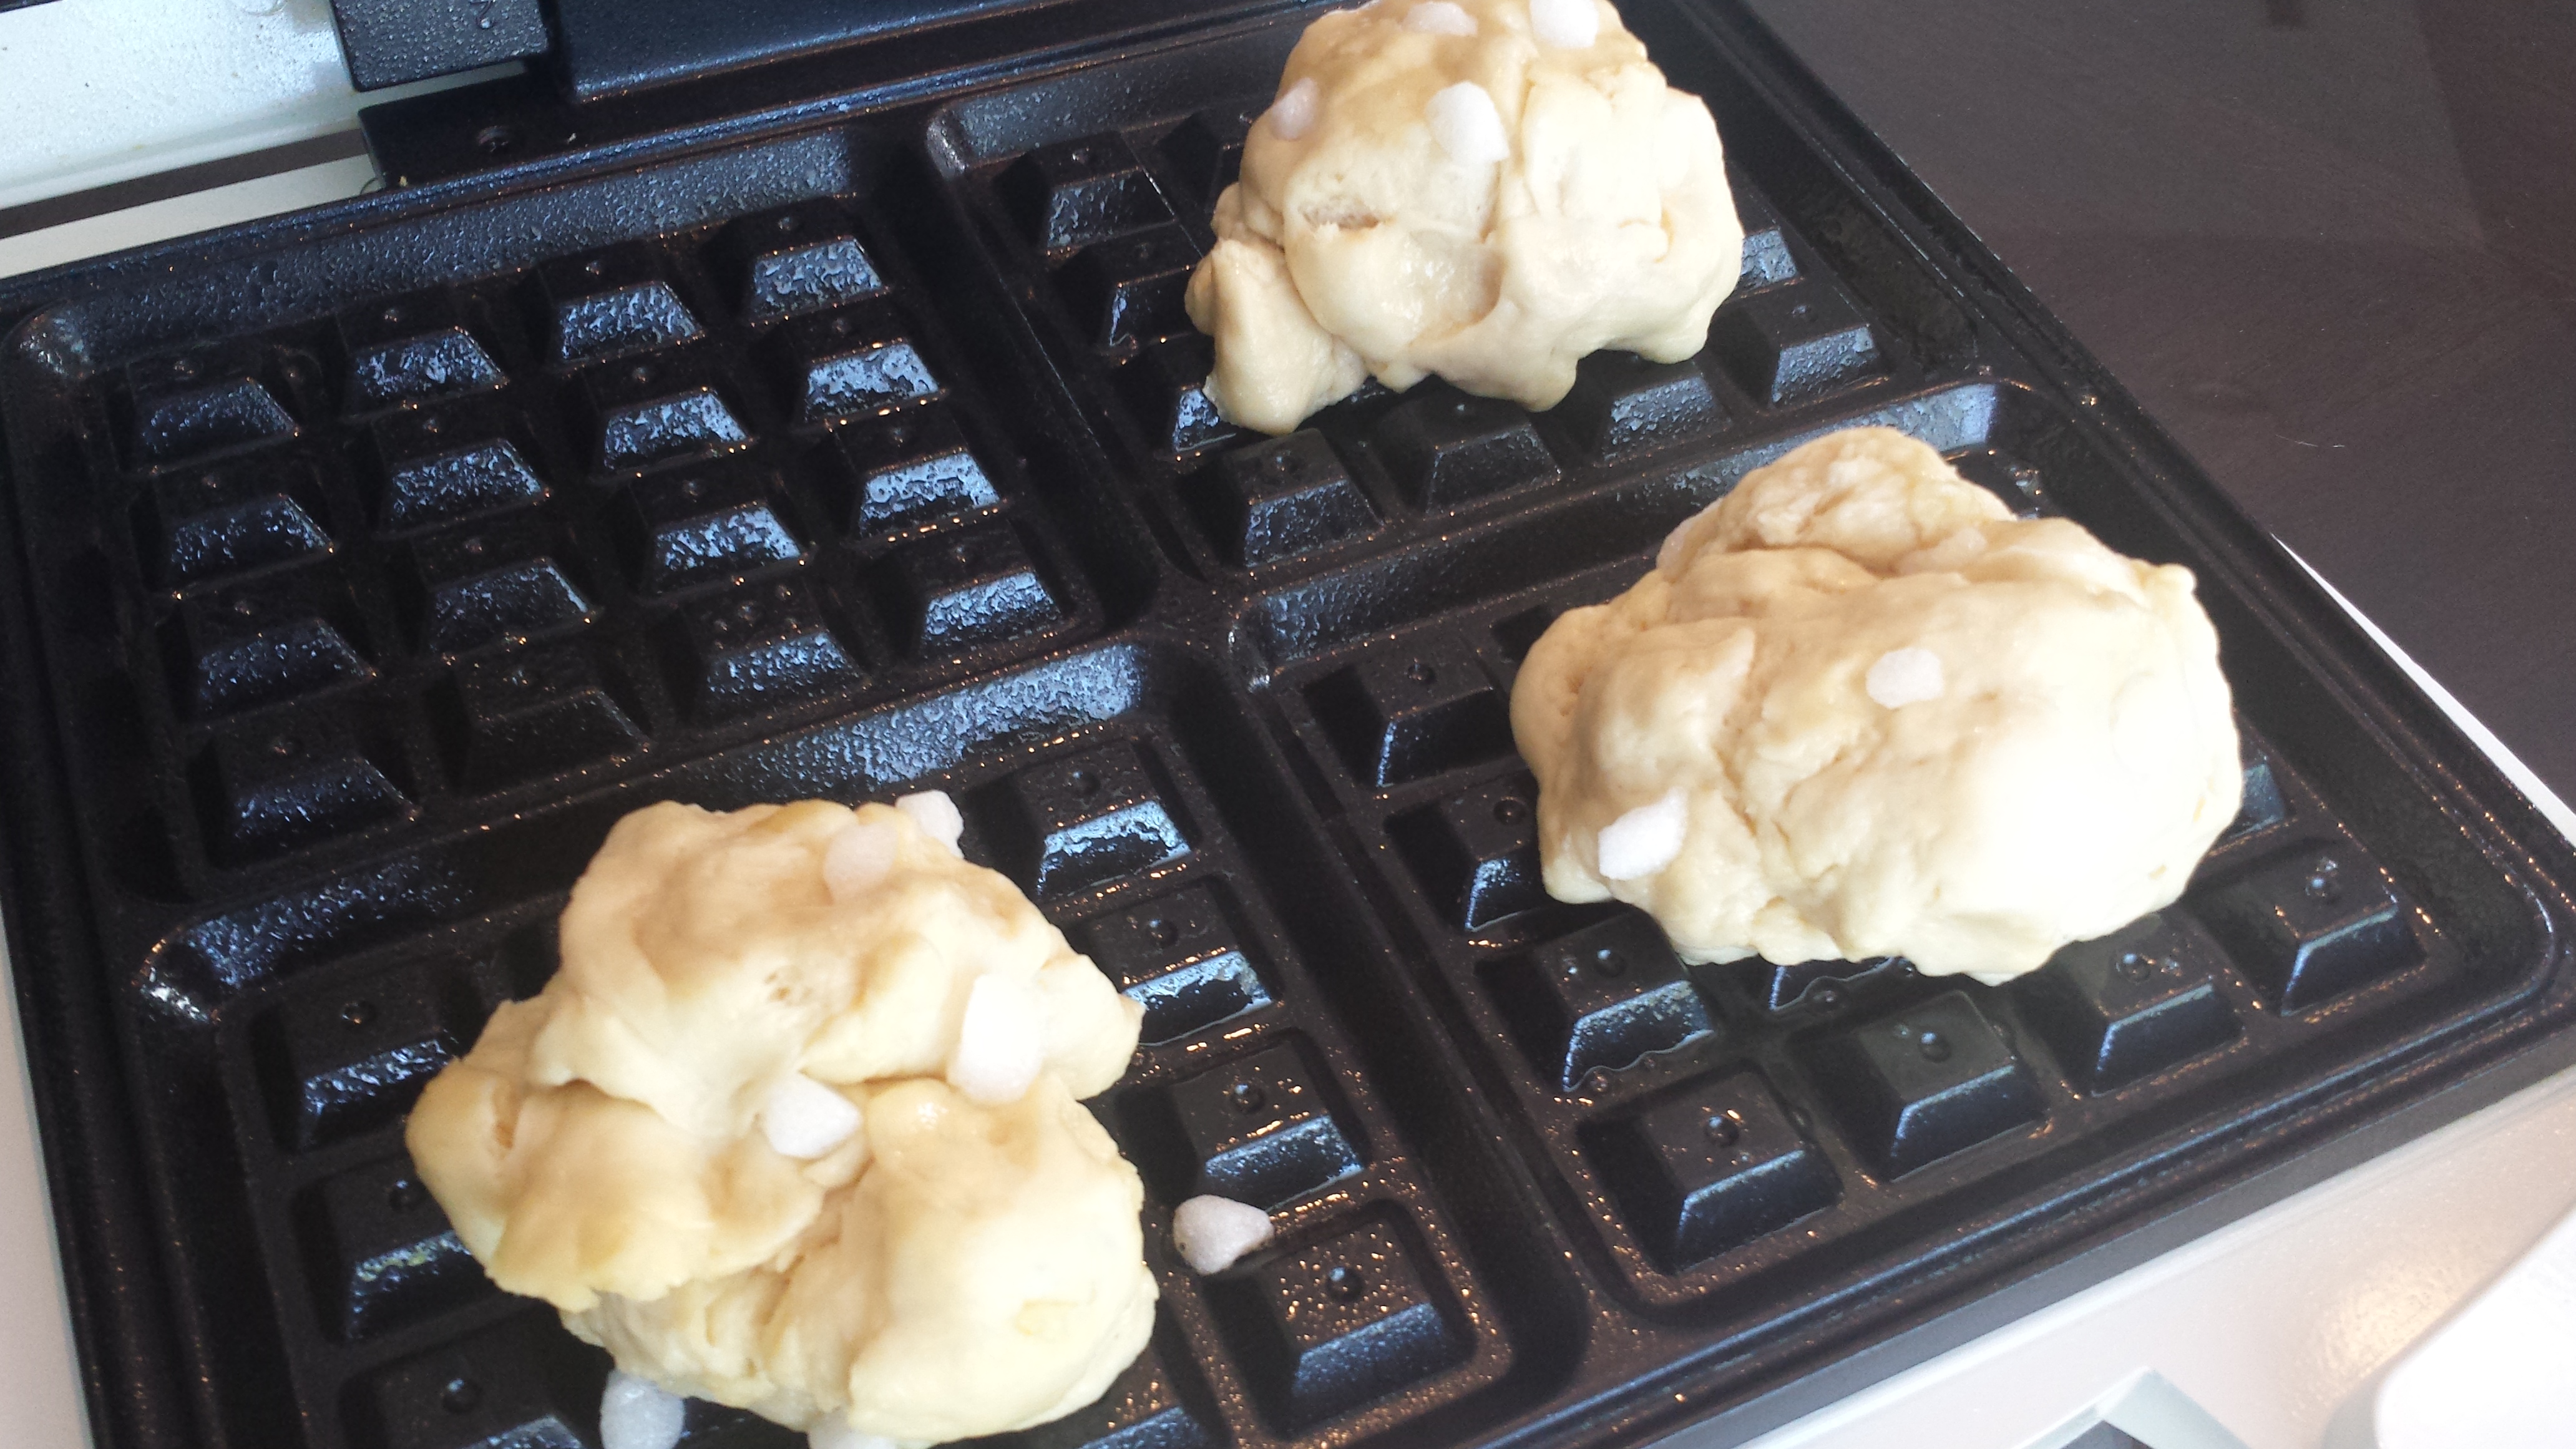
9. Pinch off a balls of dough a little smaller than a baseball and place on a greased tray. Cover loosely with plastic wrap to rise. Let rise for 90 minutes.
10. Place the dough on the waffle iron and cook for 2 – 3 minutes or until golden brown and the sugar pearls begin to melt.
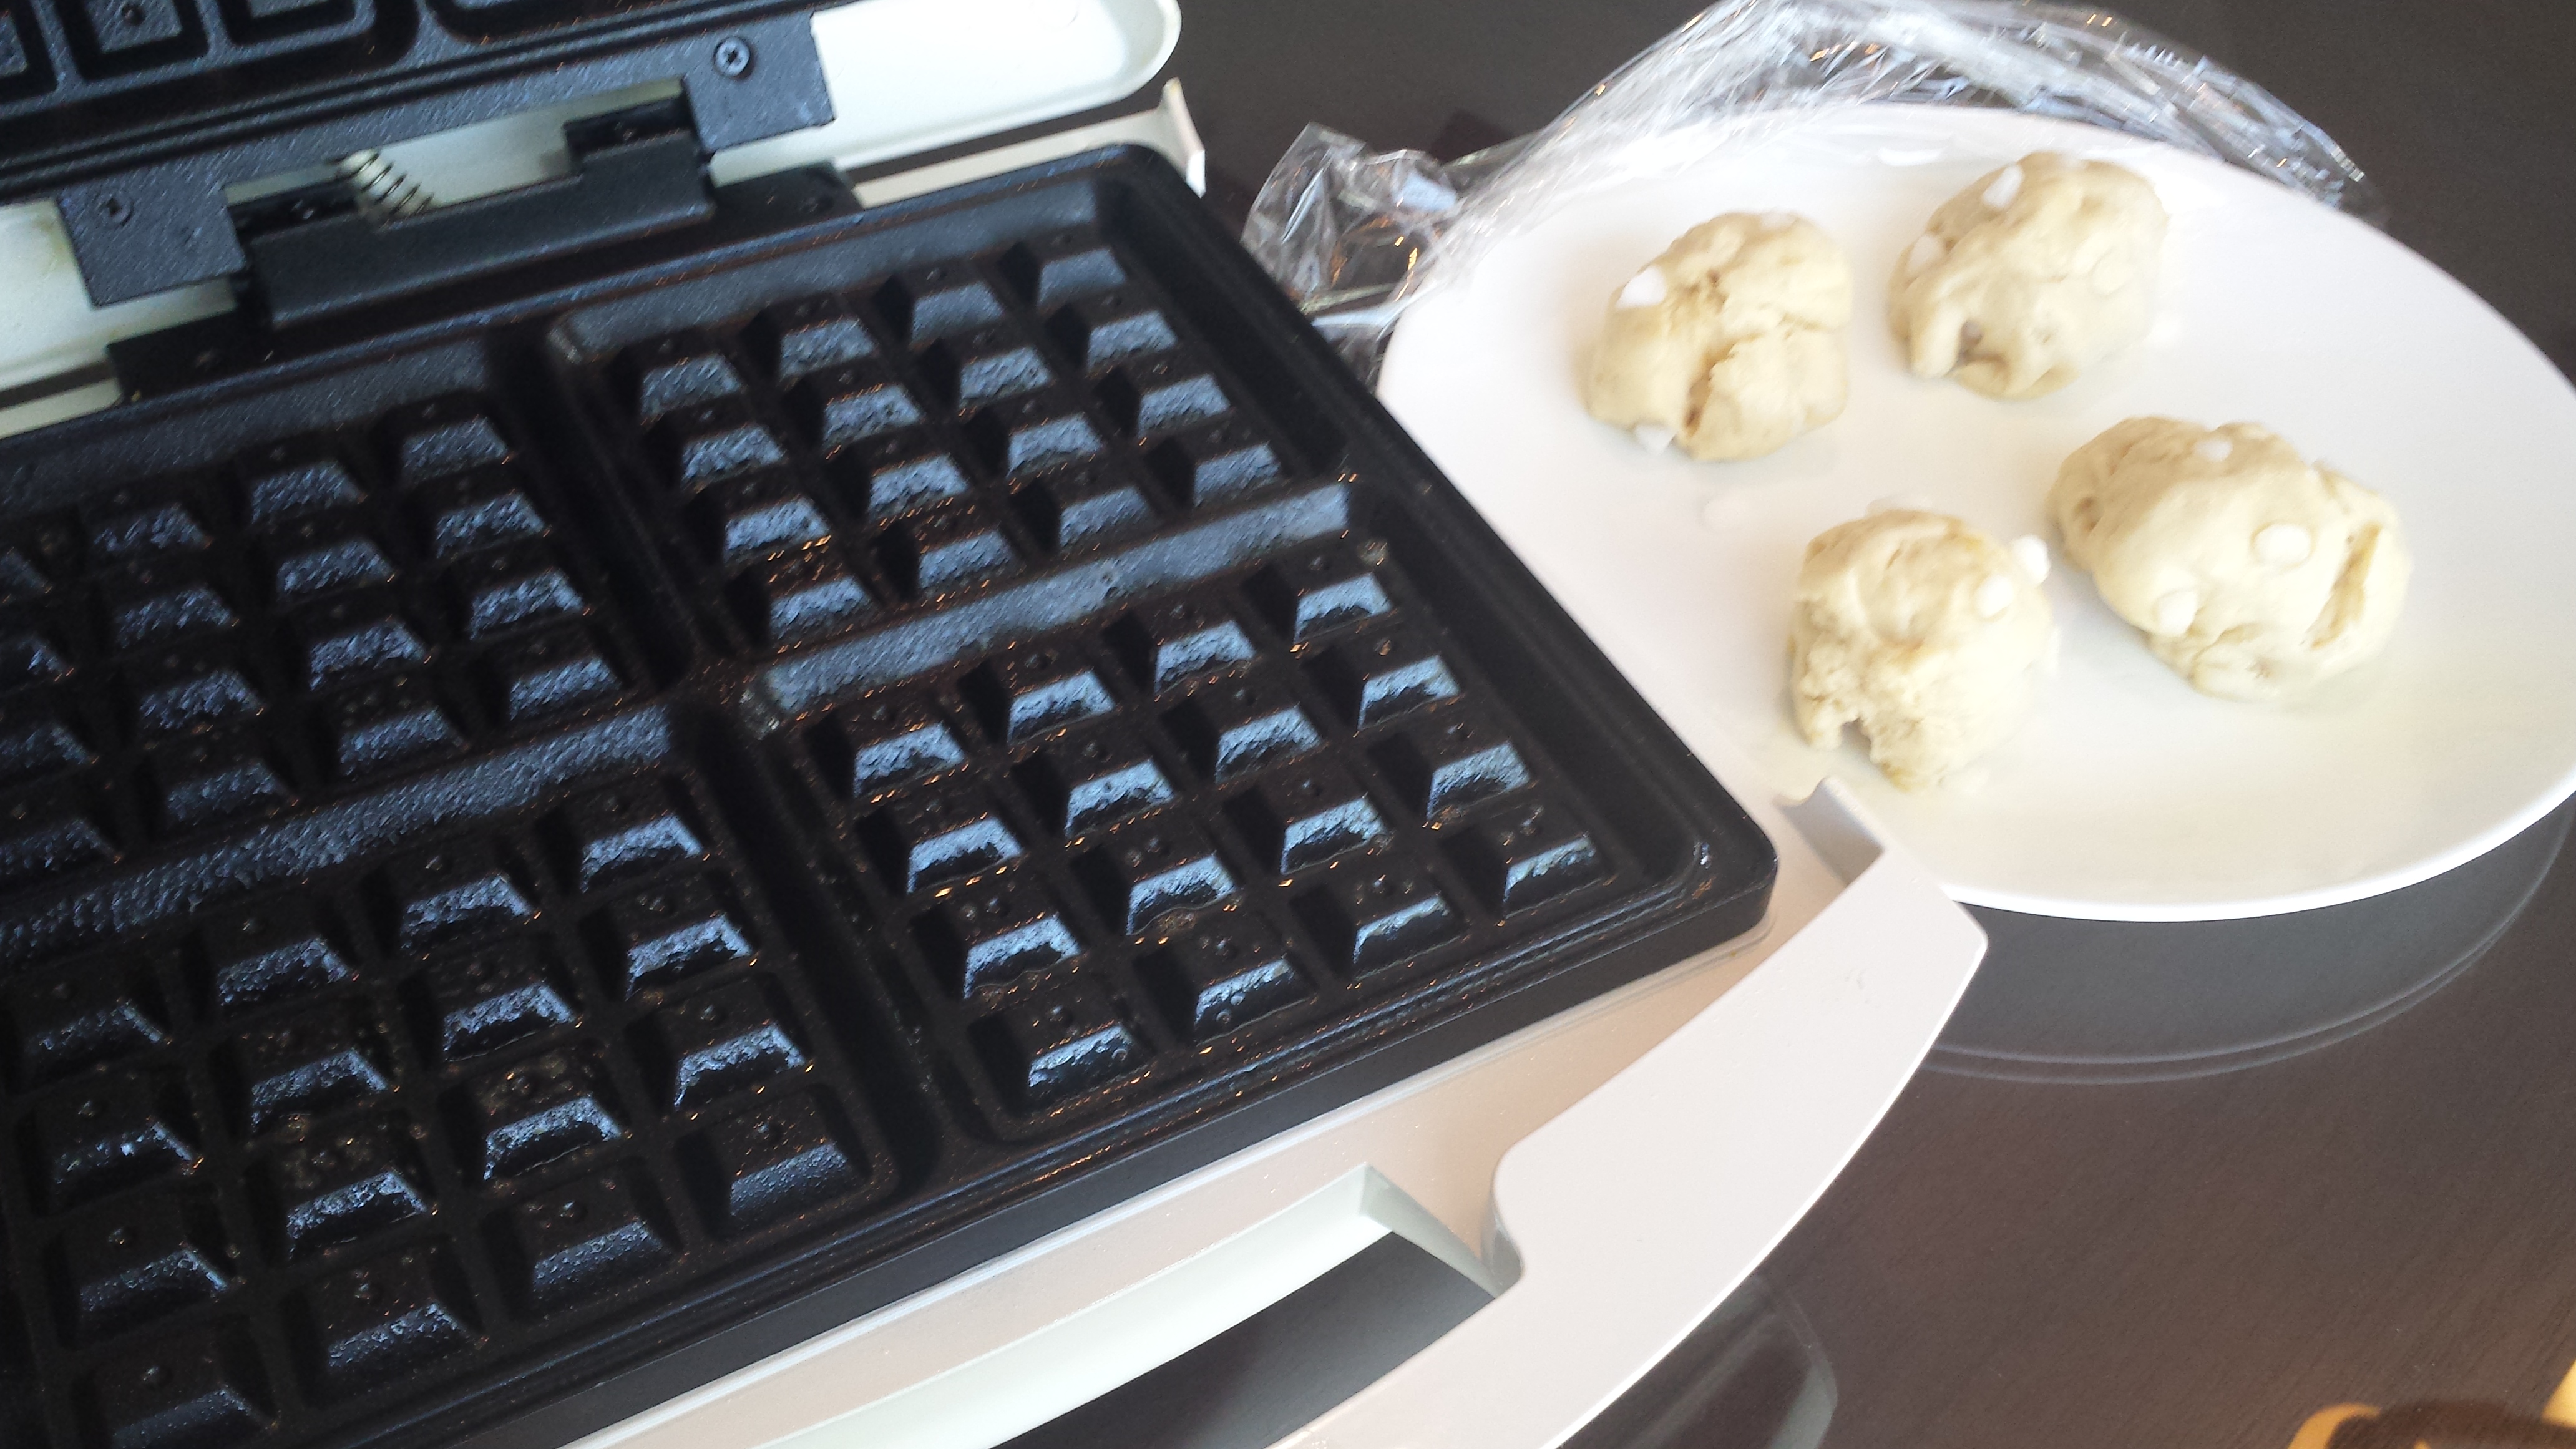
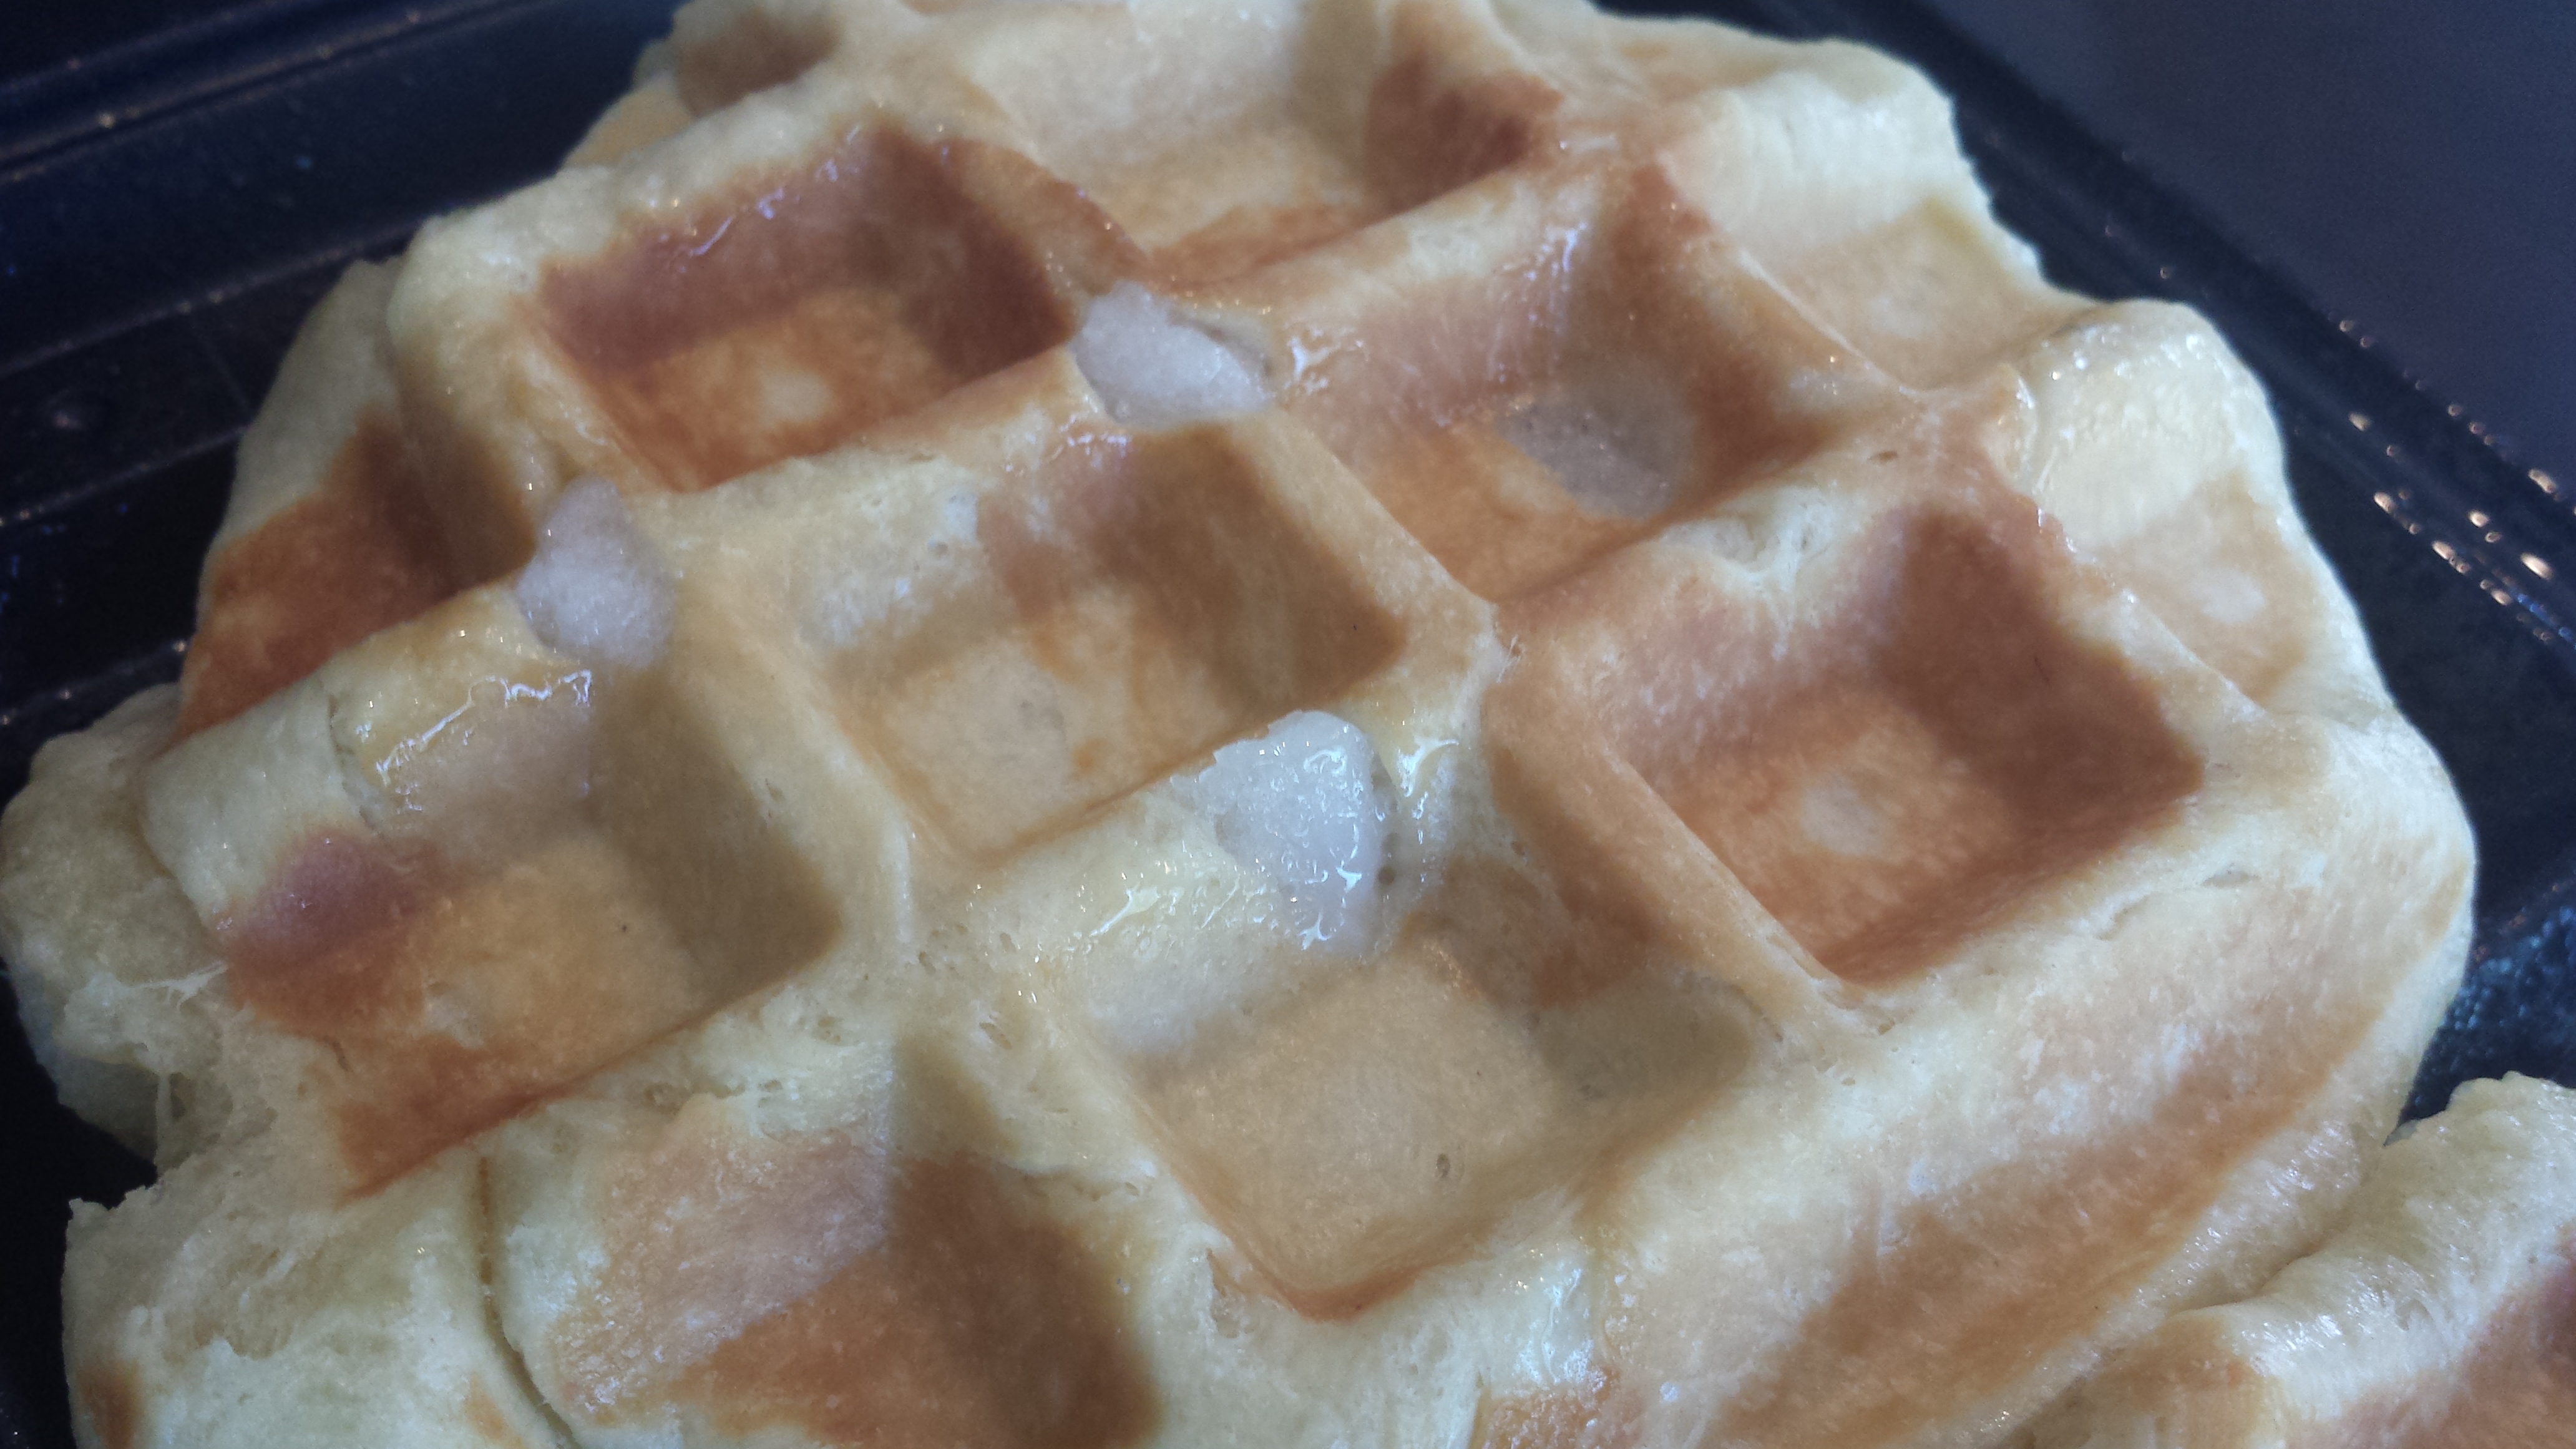
Most electric waffle irons do not have temperature controls, and cook at a temperature much too high for these types of waffles. To ensure that the sugar pearls don’t burn, you may need to unplug your iron halfway through cooking to lower the temp. Refer to the tip below.
*Tip: Place a sugar pearl at the very edge of your waffle iron so you see when it starts to melt.
When it does, unplug the iron, and let the waffles continue cooking at a lower temp for 1-2 minutes or until they are a nice golden color.

Can’t wait to try these. I purchased sugar pearls at WAFFLE LOVE last week, so was excited to see this post.